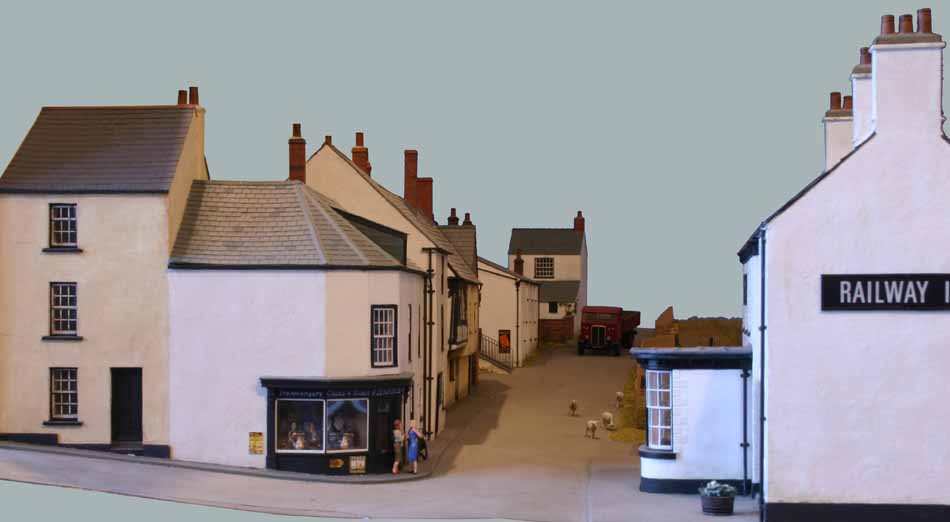
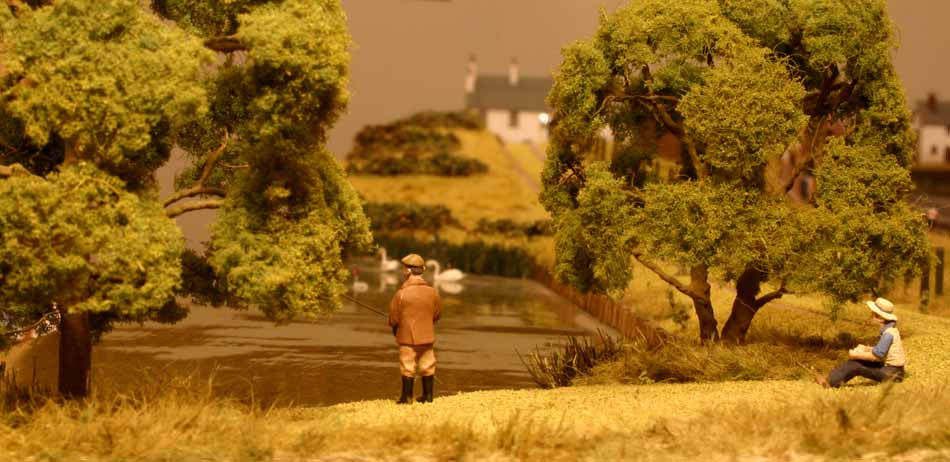
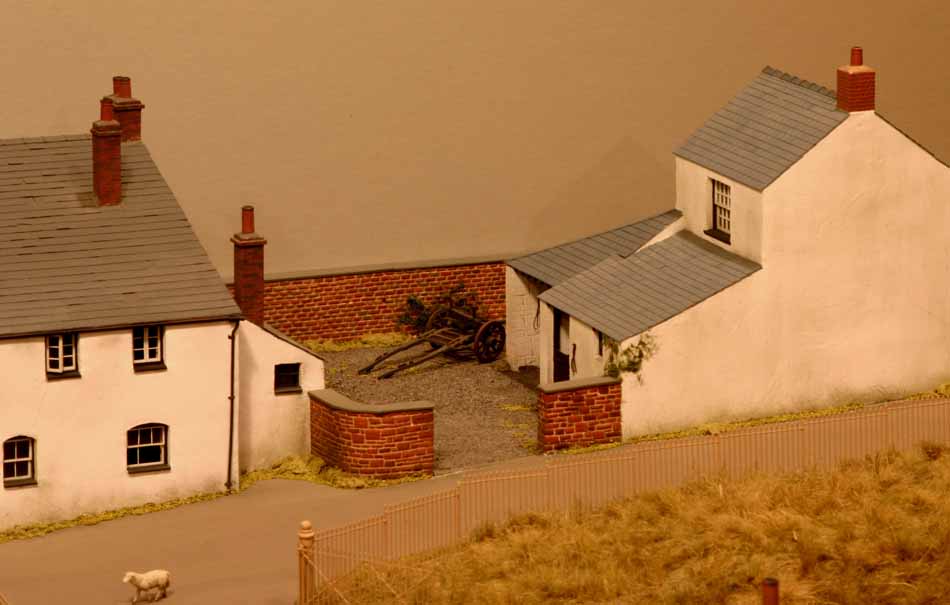
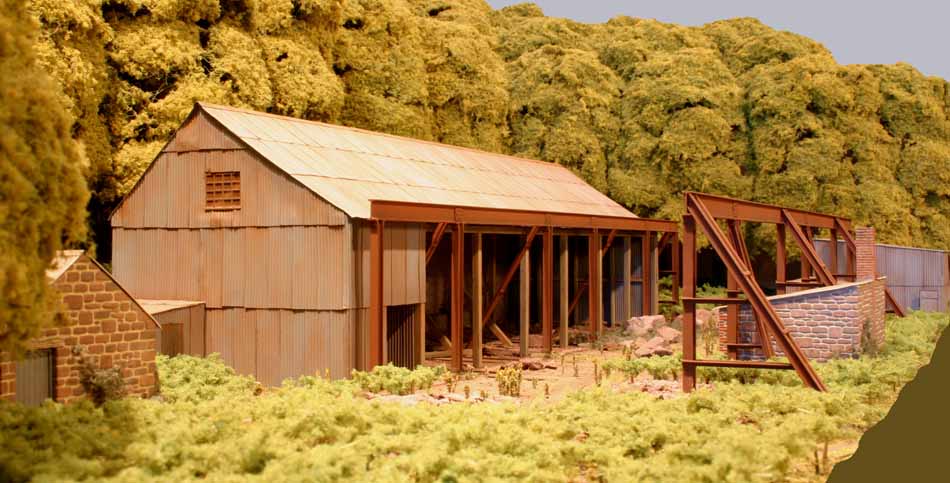
Click on the images for a larger view
Page 3 of 3